
One of the largest parts of a photographer's work flow is editing. The actual editing, post and printing is really where a photographer spends most of their time.
During the time of film photography, no photographer would process their film and then start printing from the roll. The first thing one would do was make a contact sheet to see what they have. They may then make a couple work prints to see what's in that frame that interested them. If the image was a keeper then the printing process would begin.
The ease of digital photography has greatly decreased the time we spend on our post production of images. However, because of this ease some of us have started taking short cuts in our editing. We throw the images onto our computer screen scroll on through the files and pick the images we like. Then we work our magic in post and hope everyone likes them as much as we do. I totally do this on my Facebook albums just to get the pictures posted!
Early on in this process I found myself not always knowing why I liked an image, and I was not always able to articulate why I chose it. It bothered me that I wasn't totally sure if it was a good image or not and why. If it was good I wanted to make more like it but I never really grasped why it worked.
This brings me to an instructor that may have taught me the single most important lesson I learned at school, how to edit my photography. The instructor is Walter Urie at the Orange Coast College School of Photography and what he taught me completely changed how I make photos. It changed not only how I work through the editing process but it changed how I shoot, why I shoot and how I want to shoot. His spirit has inspired me, his knowledge driven me and his advice has helped me jump from my baby bird nest. So here it is!
The process...
PHASE I
The first thing you will do is print out your images on a contact sheet. That's right, just like old school film. Make the images just large enough that you can see what's going on in them.
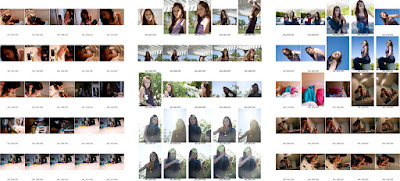
Here is what you're looking at, three printed contact sheets
Now take each contact sheet and turn it upside down, no really just turn it upside down.
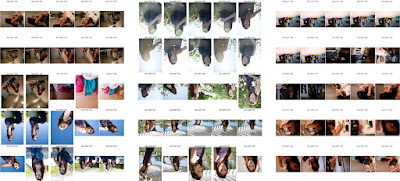
Should look just like this, upside down.
Now, squint your eyes to the point of only being able to see colors and shapes. This is when I'm lucky to be blind. I just take off my glasses, or if I'm wearing my contact lenses I put on my glasses. Your goal here is to see the images without being able to make out what they are.
Look at each frame and if you think its interesting in any way circle it with a colored grease pencil. Look for sweet colors and lines, and interesting shapes. I look for lines that meet and cross in interesting ways, angles and things in the corners with leading objects. What I don't find interesting is all the empty spaces in a frame and centered objects! Boring...
This is what it will look like after your first phase of editing your images.
One of the reasons I love the first Phase is because I used to "fall in love" with my images due to the content and it clouded my view of whether or not it was a good image. When I first began this process I was surprised to find so many empty spaces and so many centered subjects. I knew the rules but I still fell into the usual traps. I also found images that were very interesting that I never would have given the time of day to because the content wasn't what I wanted.
Here's a perfect example of an image I would never look at twice. But look, it is an interesting use of the space, all those leading lines and how they move across the top of the image. I can't help but keep looking around the frame, to her hand and to her face and back up to the top. Don't we want people to be engaged in our work? No, I 'm not putting this on my website but it illustrates what I might "shoot" for next time.
PHASE II
Now, flip over each contact sheet and don't do anything weird with your eyes. Look at every frame and use a loupe. Using a second (different) colored grease pencil circle every image you think is just wonderful. I noticed in doing this I saw some images in a more interesting way due to phase I. I began to look at each image as a frame of lines and objects over content of the image. I had an open mind toward the possibilities of my images.
Notice how some of the images have two circles on them, interesting...
PHASE III
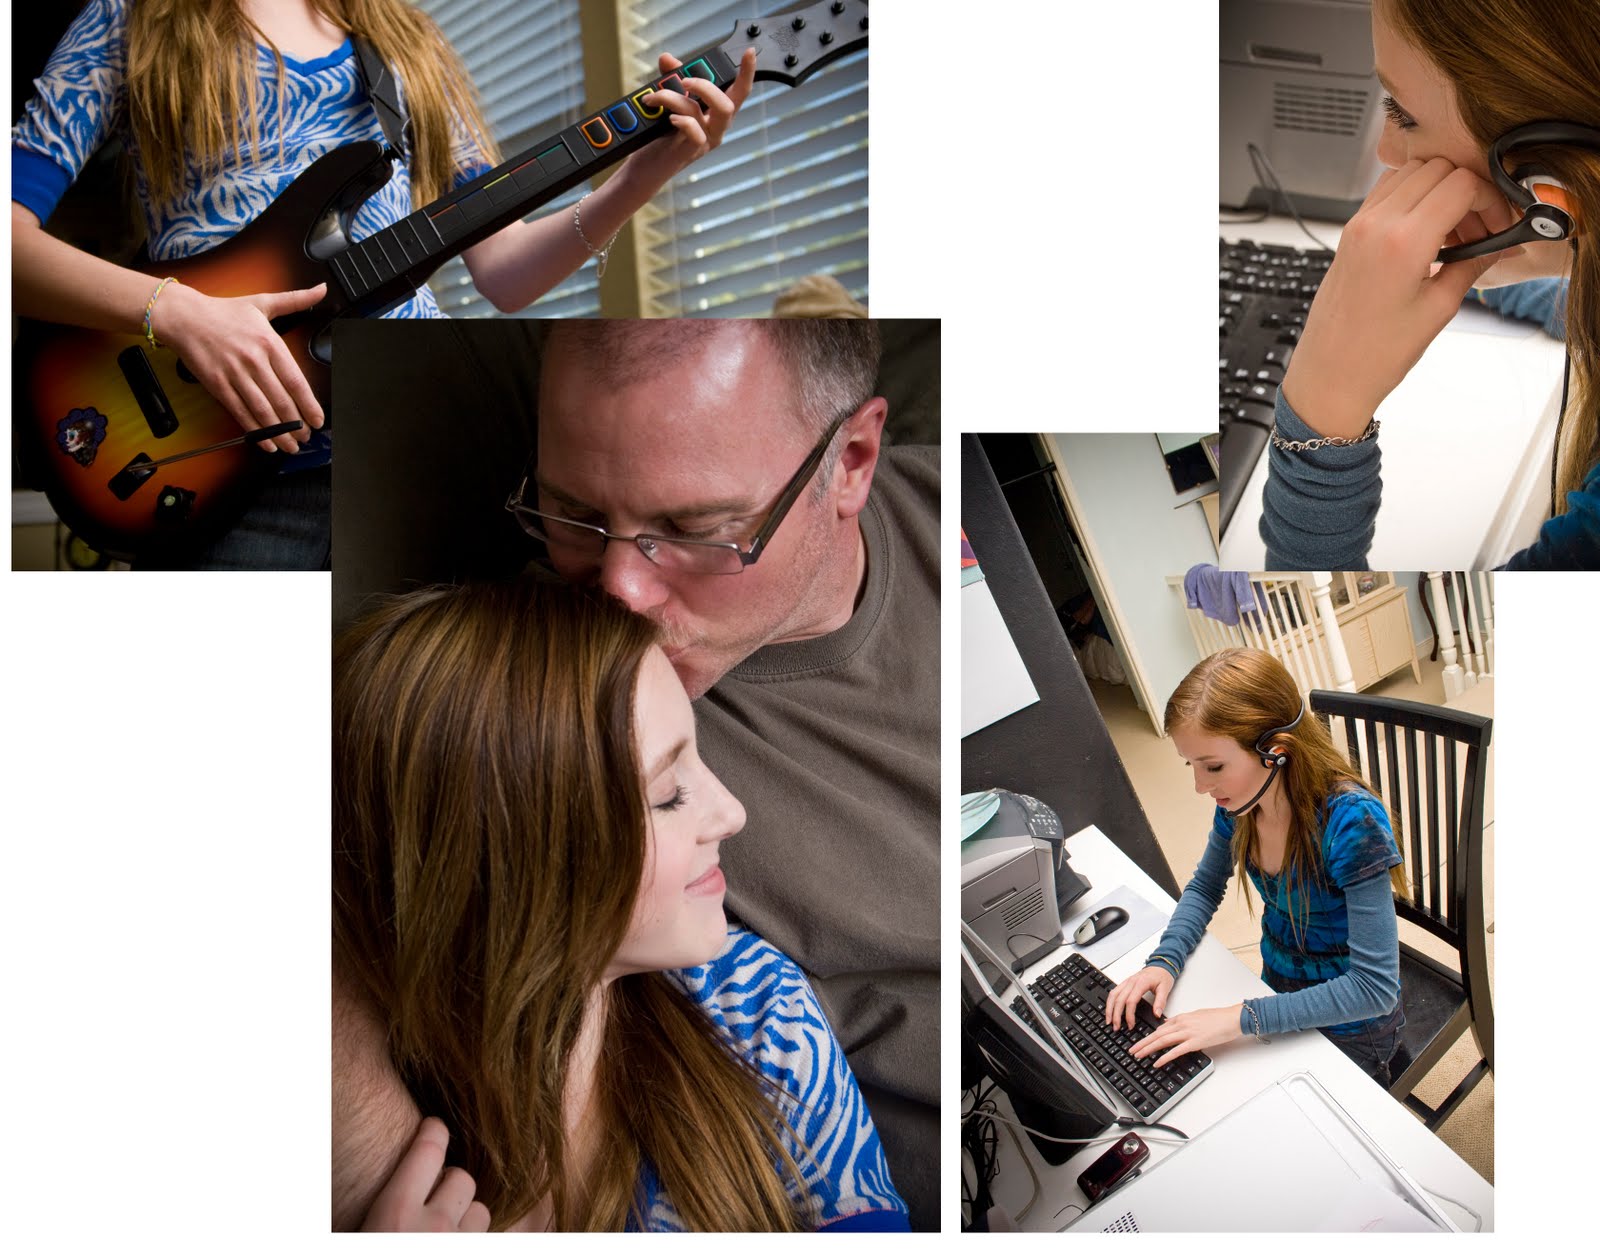
Go through each contact sheet one more time and look only for the images that are appropriate to your actual assignment. Circle them with a third colored grease pencil. For example, these contact sheets are from a book I am making about my daughter's 13th year of life. I don't want images that don't really convey part of who she is or her place in the world at 13. So I choose the ones that I LIKE and that are good for the job I'm working.
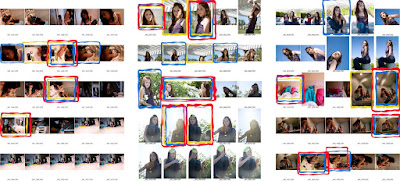
At this point each contact sheet has three differently colored groups of circles on them.
As you look over your contact sheets you really need to do three things:
Look at the images that are circled with all three colored pencils and ask yourself why they work. What is it you like about the images and why.
I found this:
Images that work for me have frames that are full of stuff.
Something made my eye "move" through it or encouraged eye movement around the frame of the image.
Good images have a point of view that is different or unique.
And my favorite... The image contained interesting or beautiful light.
Now look at the images with zero circles. **** This the most important part of the whole thing!
You need to ask yourself why they don't work. Be honest with yourself. This is where the change takes place. If we figure out what we're doing wrong when our images stink, then maybe we wont take as many of them in the future.
I found this:
My images don't work when I'm shooting "from the hip" and thinking about quantity and not quality.
They looked like common snapshots (that word should be 4 letters to any photographer).
The light was flat or not interesting, or just ugly.
There was no eye movement around the frame.
The point of view was common or just the way everyone sees it.
The frame interest was lacking.
Since I began editing this way I have learned the difference between looking vs seeing. When I look through the lens I am looking all around the frame to see what's going on in there. I am planning what will happen with the lines, shapes, subject and colors. In the process I have more usable images and they are more interesting.
This is my favorite image of the day. the two images just happened to end up next to each other on the contact sheet and when I looked at it upside down it screamed my name. It looked like one long image as the roses of both pictures mingled and flirted with each other. I love it as a diptych and best of all I know why I love it.


